First Steps with Thermoptim
There are several ways to start working with Thermoptim.
In any case, you will need to install the software on your computer, which can be done with the demonstration version. This version allows you to define models, but you will not be able to save them. For that, you need a paid license version.
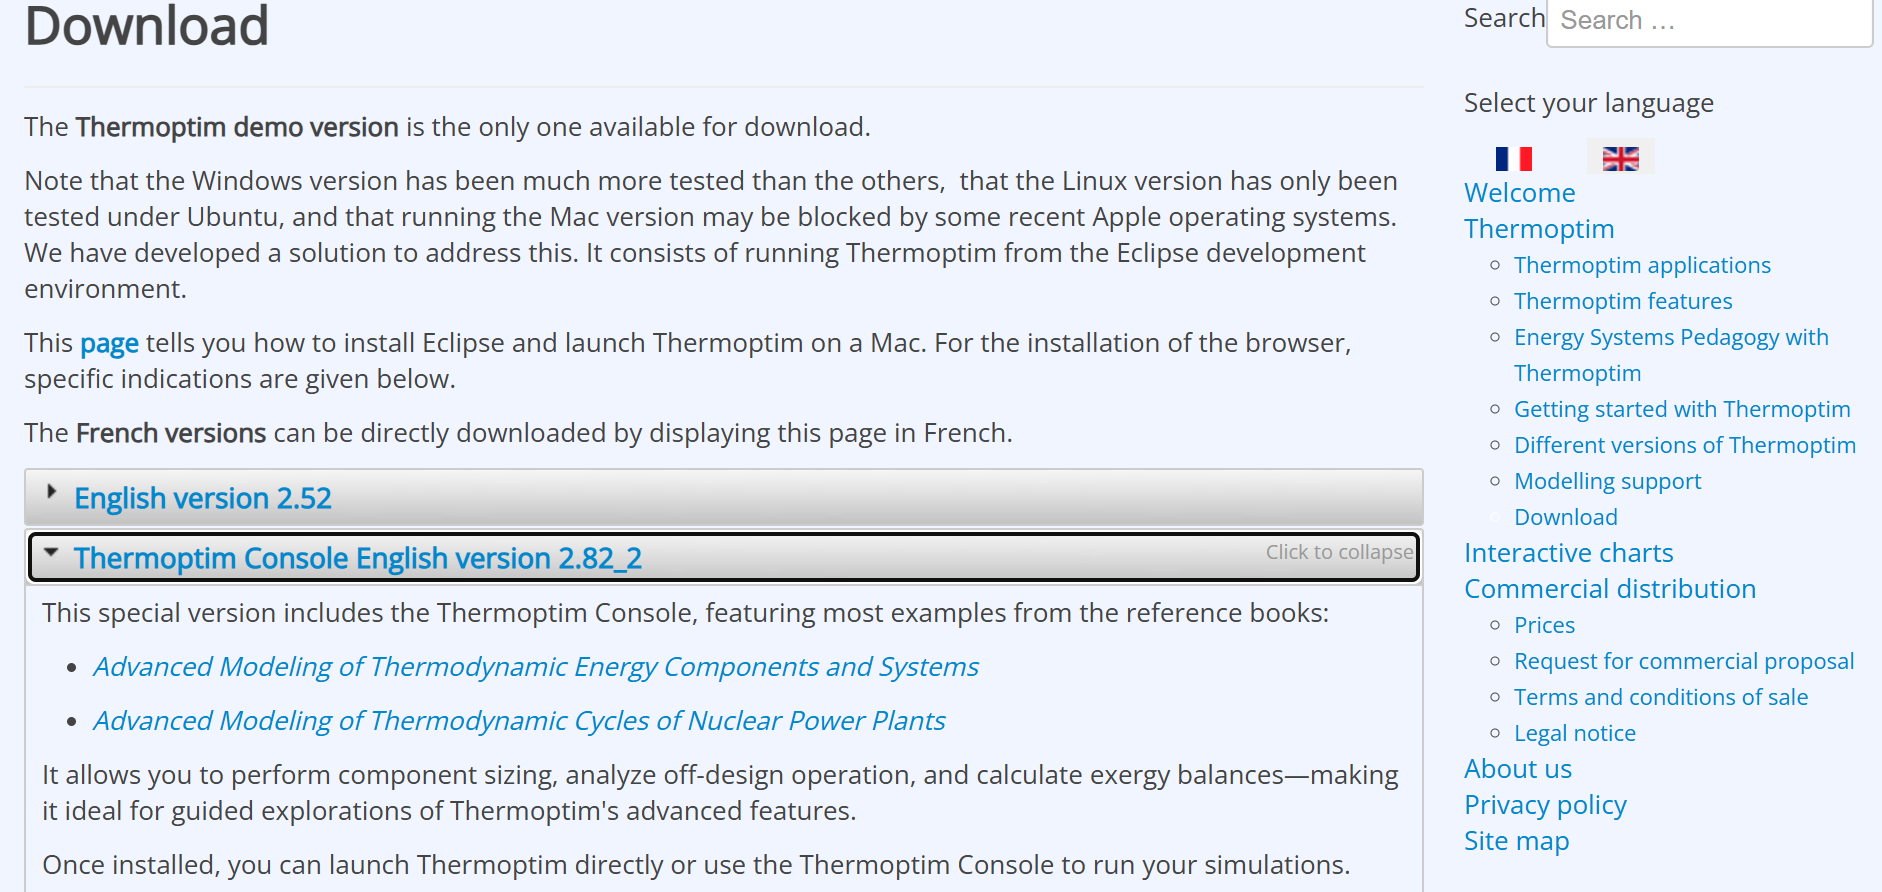
A special demo version including the Thermoptim Console with most of the examples from both books and those used in the Guided Explorations has been prepared for you. It’s available on the Thermoptim download site.
Once Thermoptim is installed, you can use the 45 Guided Explorations, which will allow you to gradually learn how to model many energy systems.
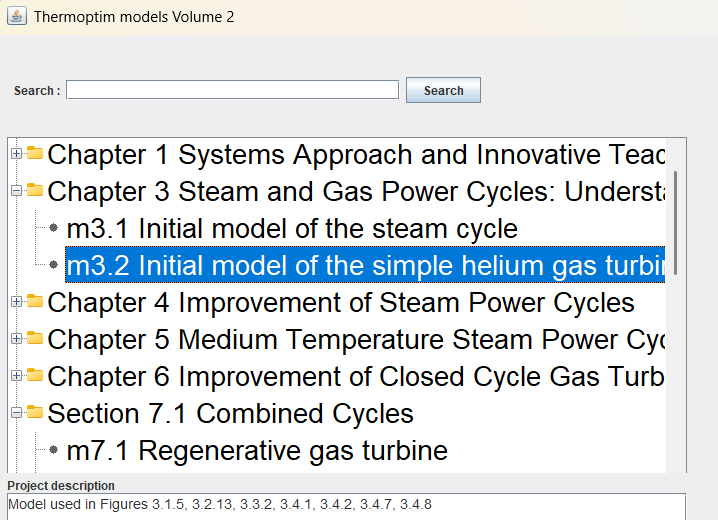
As indicated abobe the Thermoptim Console, gives you access to a large number of existing models, including those of the Guided Explorations and most of the examples from the books mentioned on this site.
Finally, you can use an Example catalog, an older and simplified version of the Console.
Installation of Thermoptim Demo Version
To use Thermoptim without a paid license, you can install one of the demo versions available at: 🔗 Download Thermoptim
Thermoptim requires the Java Runtime Environment (JRE), preferably version 1.8, to be installed on your machine. If Java is not installed, download it here: 🔗 Download Java
Launching Thermoptim
To open Thermoptim, double-click the ThoptExec.jar file.
For guidance on getting started—such as opening existing project files or using an example catalog—visit this page on the Thermoptim-Unit portal: 🔗 Getting Started with Thermoptim
Guided Explorations
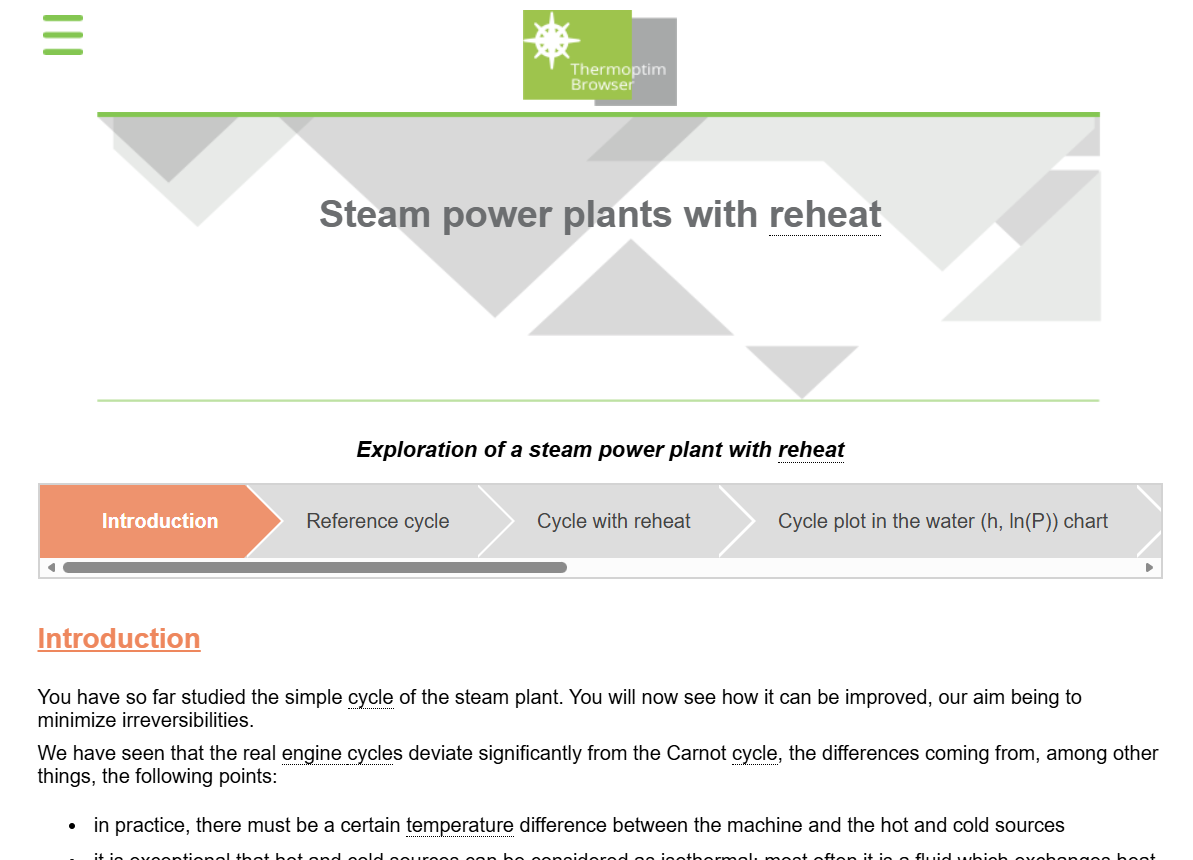
Thermoptim offers about 45 guided model explorations to help you get a handle on the software and introduce you to the modeling of energy systems.
For more details, visit: 🔗 Guided Explorations
Installing the Thermoptim Console
The Thermoptim Console is a dashboard for users of the Thermoptim software.
It provides organised access to series of models distributed with the guided explorations or the books: project files, diagram files, exergy structure files, and cycle files. To install the Thermoptim Console, follow these steps:
- Download the Console archive.
- Extract it in Thermoptim’s installation directory.
- Double-click file ThermoptimConsole.jar.
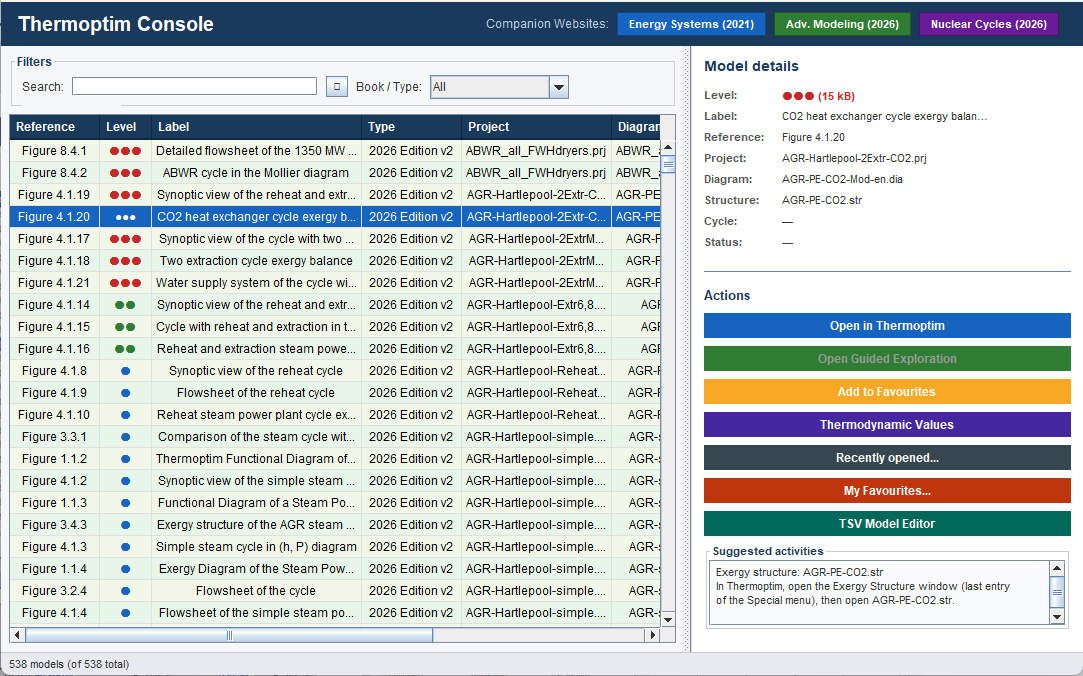
Then select the type of project that interests you to narrow down the list of those offered to you. Double-click on the one of your choice. Thermoptim is then launched and the project and diagram files are opened.
The complete documentation of the Thermoptim Console is available at this address: 🔗 Thermoptim Console
Installing an Example Catalog
To install an example catalog, follow these steps:
- Place the catalog folder (containing the proj and schema directories, as well as the text file defining the links to these files) in the Thermoptim installation directory.
- Edit the loadLib.ini file to include the path to the text file mentioned above.
The example catalog will be available the next time you launch Thermoptim, accessible from the Project Files menu.